lunes, 1 de diciembre de 2014

Upper triangular matrix

Function to get the index of a matrix that is storing the upper triangular part of a square matrix.
I found this function in the bottom source, but I had to add the offset.

source: original function without offset

Function

In [1]:
def upper_triangular_index(n, r, c, k=0):
    """
    Returns the index of an array that is storing an
    upper triangular matrix. In this case the matrix
    has to be square and only accepts zero or possitive
    offsets.
    n = square matrix length
    r = actual row
    c = actual column
    k = diagonal possitive offset
    """
    return (n*r-k)+c-((r*(r+1))/2)-r*k

Some examples

In [2]:
import numpy as np
In [3]:
N = 3
keys = range(N)
matrix = np.ones((N,N), dtype=int)*-1

Small example without offset

In [4]:
offset=0
for key1 in keys:
    for key2 in keys:
        if key1+offset <= key2:
            matrix[key1,key2] = \
                upper_triangular_index(N, key1, 
                                       key2, k=offset)
print matrix
[[ 0  1  2]
 [-1  3  4]
 [-1 -1  5]]

Small example with offset = 1

In [5]:
matrix = np.ones((N,N), dtype=int)*-1
offset=1
for key1 in keys:
    for key2 in keys:
        if key1+offset <= key2:
            matrix[key1,key2] = \
                upper_triangular_index(N, key1, 
                                       key2, k=offset)
print matrix
[[-1  0  1]
 [-1 -1  2]
 [-1 -1 -1]]

Large example with offset = 3

In [6]:
N = 9
keys = range(N)
matrix = np.ones((N,N), dtype=int)*-1
In [7]:
offset=3
for key1 in keys:
    for key2 in keys:
        if key1+offset <= key2:
            matrix[key1,key2] = \
              upper_triangular_index(N, key1, 
                                     key2, k=offset)
print matrix
[[-1 -1 -1  0  1  2  3  4  5]
 [-1 -1 -1 -1  6  7  8  9 10]
 [-1 -1 -1 -1 -1 11 12 13 14]
 [-1 -1 -1 -1 -1 -1 15 16 17]
 [-1 -1 -1 -1 -1 -1 -1 18 19]
 [-1 -1 -1 -1 -1 -1 -1 -1 20]
 [-1 -1 -1 -1 -1 -1 -1 -1 -1]
 [-1 -1 -1 -1 -1 -1 -1 -1 -1]
 [-1 -1 -1 -1 -1 -1 -1 -1 -1]]

viernes, 28 de noviembre de 2014

3D visualization of some colorspaces

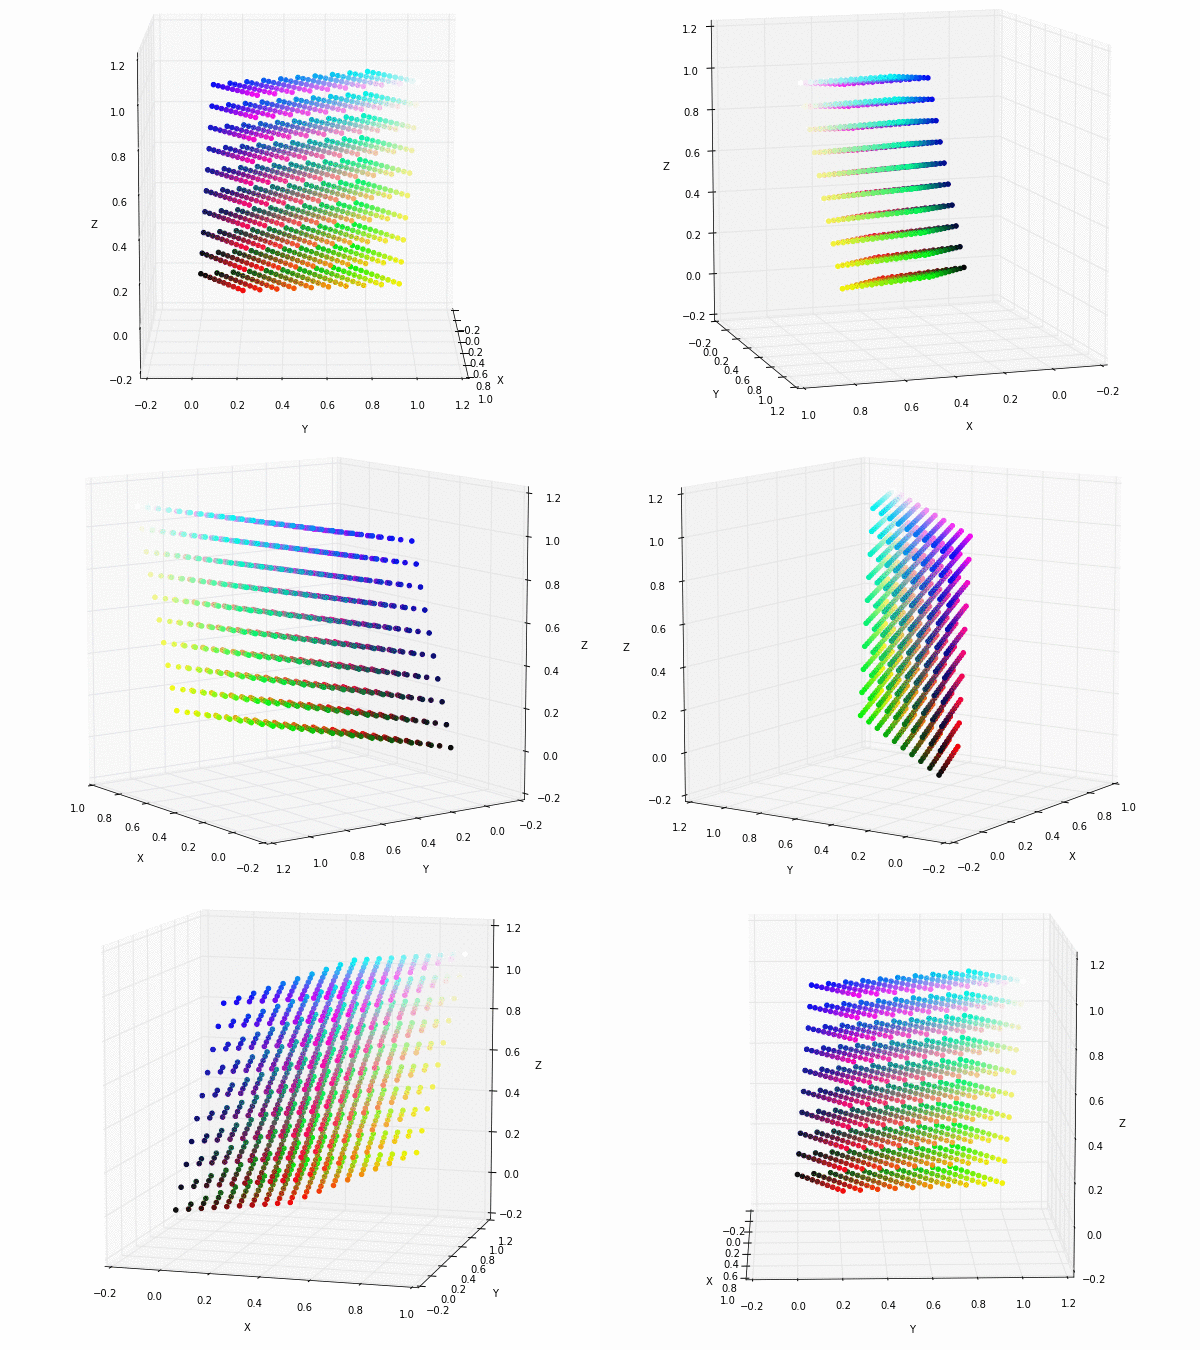
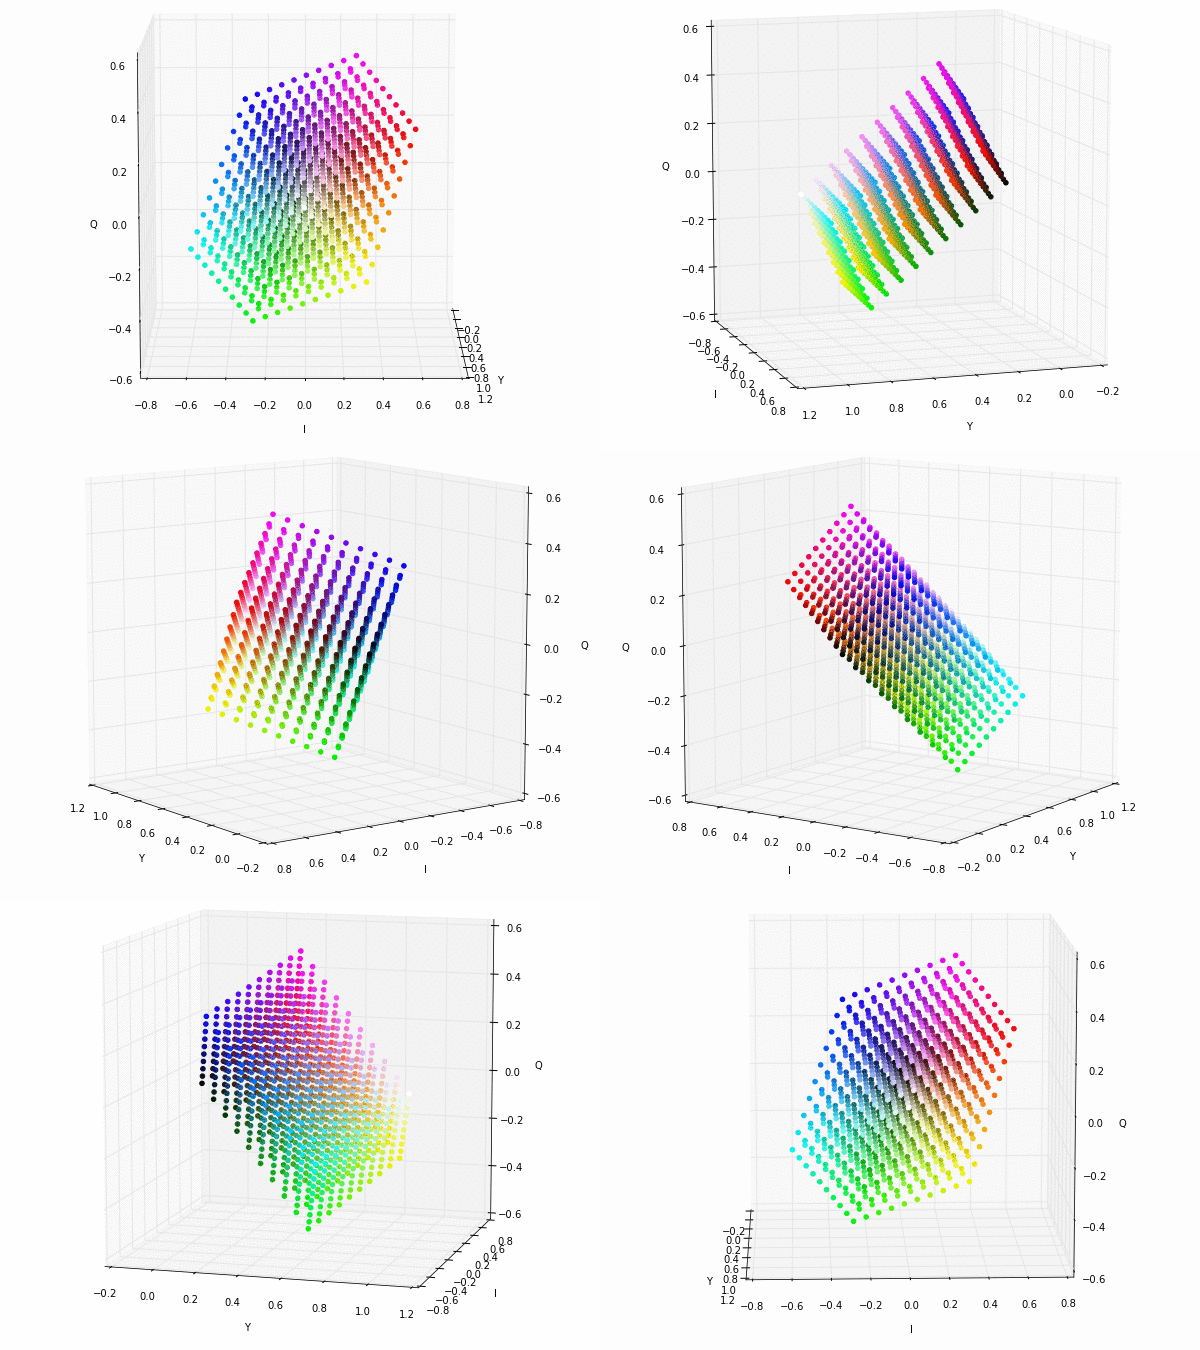
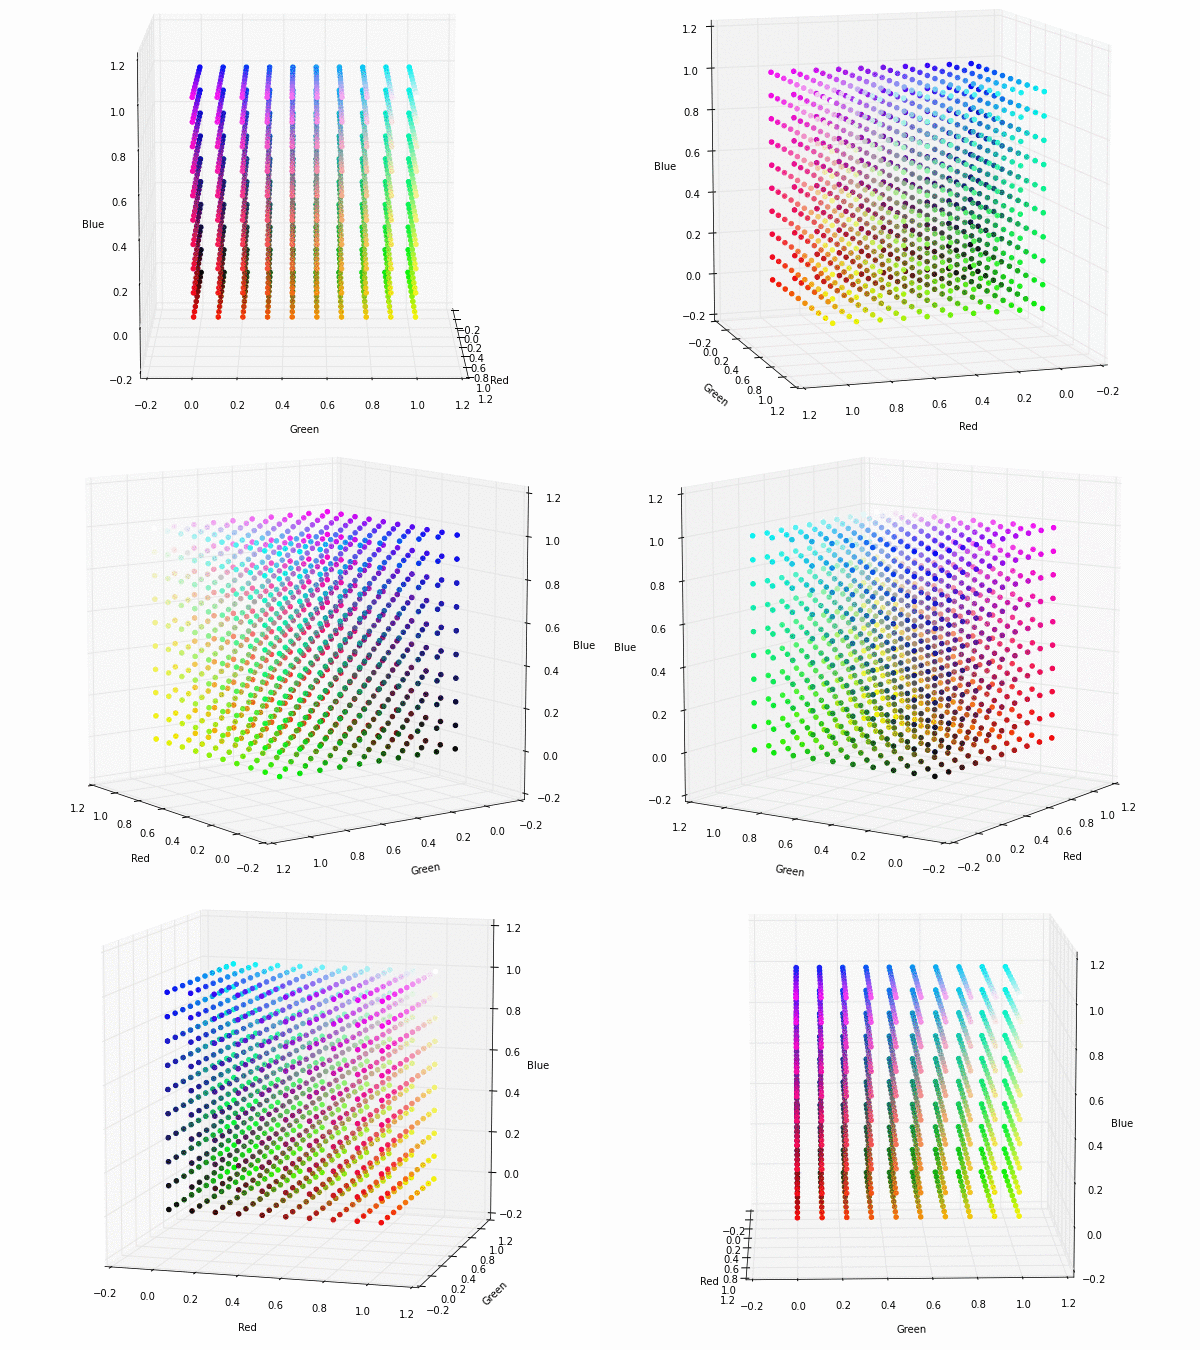
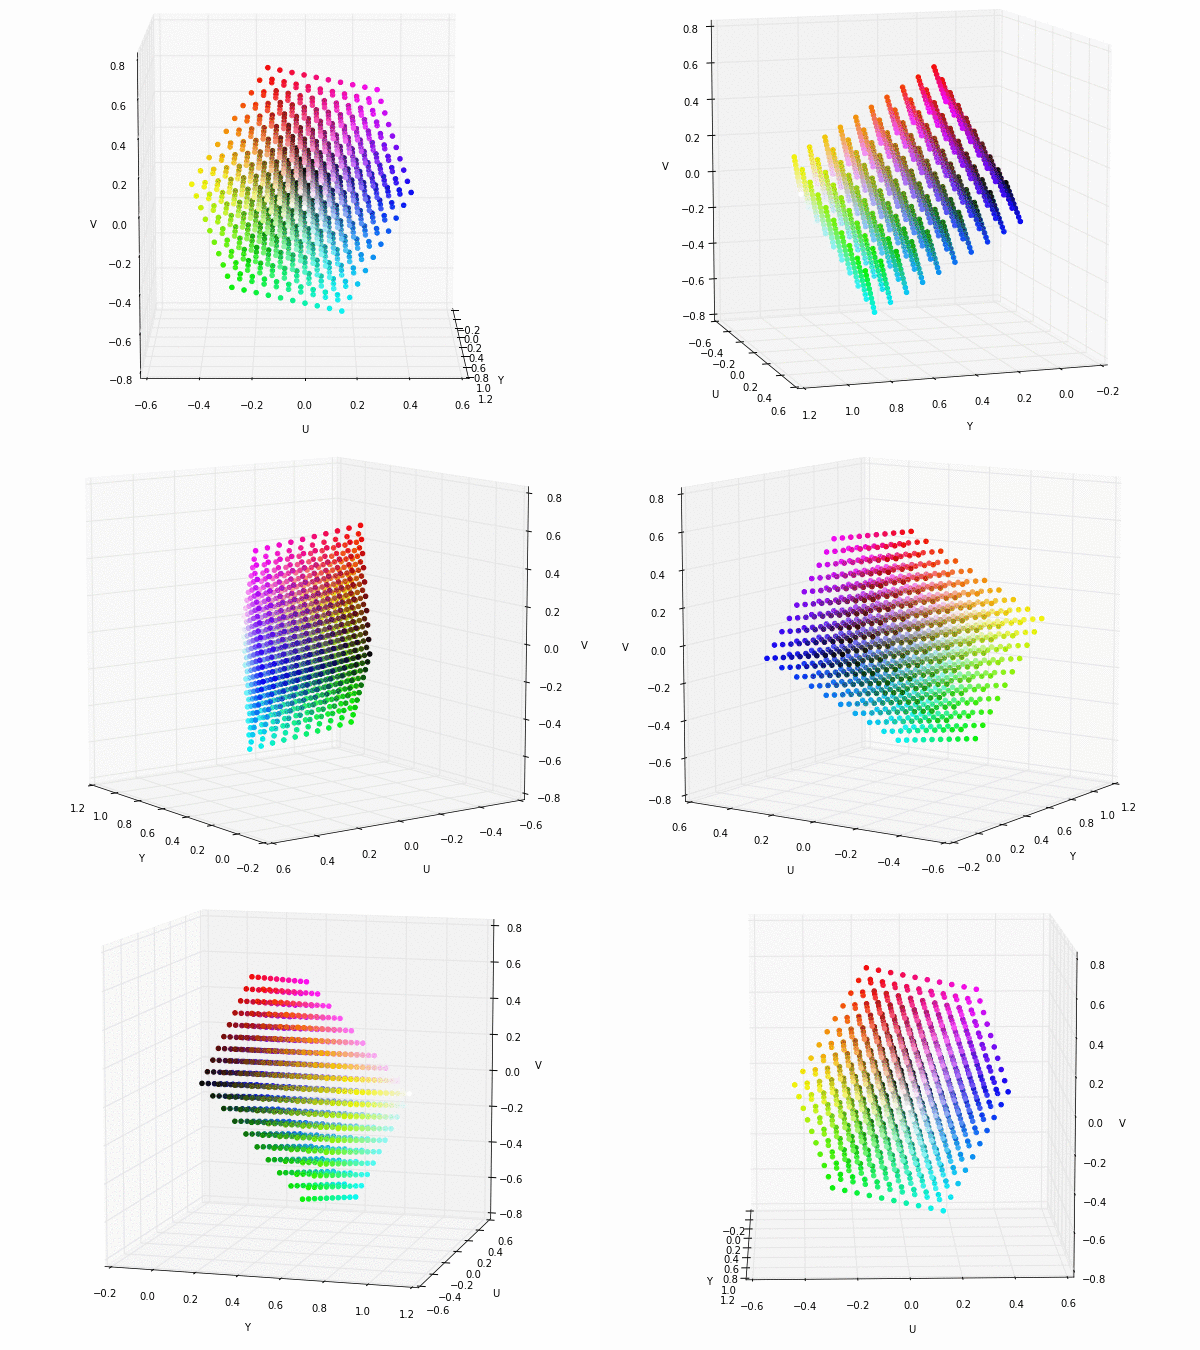
These are some GIF visualizations of an RGB cube in different colorspaces (Click in the images to see the 3D visualization, it can take some seconds to open as each visualization is about 11MB).

The original cube in the RGB colorspace:


RGB cube in the YUV colorspace:


RGB cube in the XYZ colorspace:


RGB cube in the YIQ colorspace:


If you find these interesting you can take a look at the results in my Master Thesis: webpage or the pdf and do not hesitate to ask me any question.

Perceptron training visualization

Visualization of a Perceptron trying to classify samples into two different categories.

 In this representation there is no bias involved,  the green arrow are the model weights and it defines an hyperplane orthogonal to them centred in the coordinates [0,0]. In each iteration the sample being tested is shown in orange. If the sample is in the wrong side of the hyperplane the vector representing the sample is shown, then the red vector is the same vector reescaled by the learning rate and it is summed to the weights vector. Then, the next sample is tested. 


martes, 2 de septiembre de 2014

Change aptitude upgrade folder

To change the default folder where temporal files are stored when doing an aptitude upgrade just create one folder /apt/partial in some specific place:

 mkdir -p /some/path/apt/partial 

And then modify or create the file /etc/apt/apt.conf and add this line:

 dir::cache::archives "/some/path/apt"; 

source : http://ostico.it/content/linux/aptitude/how-change-default-aptitude-download-directory

viernes, 1 de agosto de 2014

How to mount a remote directory over ssh on Linux

Directly copied from source: http://xmodulo.com/2013/04/how-to-mount-remote-directory-over-ssh-on-linux.html

Suppose you would like to mount a remote directory locally. However, you only have ssh access to the host where the remote directory resides, and there is no network file system (e.g., NFS, Samba) available to export the directory with. In this case, you can actually mount a remote directory over ssh, and access the directory via file system interfaces.
Mounting a remote folder over ssh is handled by FUSE kernel module, which allows one to create a virtual file system in user space. sshfs and gvfs are two such virtual file systems built on FUSE that allow one to mount a remote file system over ssh. In this post, I will show how to mount a remote directory over ssh with sshfs and gvfs.

Mount a remote directory over ssh with sshfs

To install sshfs on Ubuntu or Debian:
$ sudo apt-get install sshfs
To install sshfs on CentOS, RHEL or Fedora, first enable EPEL repository on your system, and then run the following.
$ sudo yum install sshfs
Next, if you want to use sshfs as a non-root user, you need to add the user to a group called fuse. That is:
$ sudo usermod -a -G fuse <user_name>
Run the following to make group membership change activated.
$ exec su -l $USER
Finally, you can mount a remote directory using sshfs as follows.
$ sshfs my_user@remote_host:/path/to/directory <local_mount_point>
The above command will ask you for ssh password for the remote host. Once you enter the password, a remote directory will become available at the local mount point. If you want to set up passwordless mounting, all you have to do is to set up passwordless ssh login to my_user@remote_host.
To unmount a ssh-mounted directory:
$ fusermount -u <local_mount_point>
If you would like to automatically mount over ssh upon boot, set up passwordless ssh login, and append the following in /etc/fstab.
$ sudo vi /etc/fstab

sshfs#my_user@remote_host:/path/to/directory <local_mount_point> fuse user 0 0

Vim automatic wrapping

If you need to automatically wrap your text in Vim to some specific text width you need to set just two different variables:

:set textwidth=80
:set formatoptions+=t

You can use a shorter name for both of these variables, tw and fo respectively.

Source: http://blog.ezyang.com/2010/03/vim-textwidth/

domingo, 22 de junio de 2014

Create a .gif from video

This command line should work but will generate a giant file:
ffmpeg -i yesbuddy.mov -pix_fmt rgb24 output.gif
Note that you probably want to reduce the frame rate and size when you convert, as well as specify a start time and duration. You probably do not want to convert the entire file at its original resolution and frame rate.
ffmpeg -ss 00:00:00.000 -i yesbuddy.mov -pix_fmt rgb24 -r 10 -s 320x240 -t 00:00:10.000 output.gif
The file size will still be huge. You may be able to use ImageMagick's GIF optimizer to reduce the size:
convert -layers Optimize output.gif output_optimized.gif


Source: http://superuser.com/a/436109